In this unit we are going to work with two important elements in art: Colour and Shape.
Lesson 1: Colour theory
Thanks to Sir Isaac Newton, colours are categorised in the colour wheel:
We use the Colour Theory to make intelligent decisions when thinking about what colours to use in an artwork.
This 12-section colour wheel describes relationships between different colours and it help us to decide what colours to use deppending on the effects we need in our artworks.
CATEGORIES OF COLOUR:
PRIMARY COLOURS: Red, blue and yellow.:
SECONDARY COLOURS: A colour resulting from 2 primary colours: orange, green and purple.
TERTIARY COLOURS: The colour resulting when we mix the same amount of a primary colour and a secondary colour.
Task 1: Under the sea.
Colour a sea landscape with at least 6 fish using primary colours for the bodies, secondary colours for the head and tertiary colours for the fins.
Task 2: Watch the video and learn more about colours, and the theory of colours
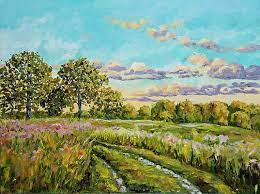
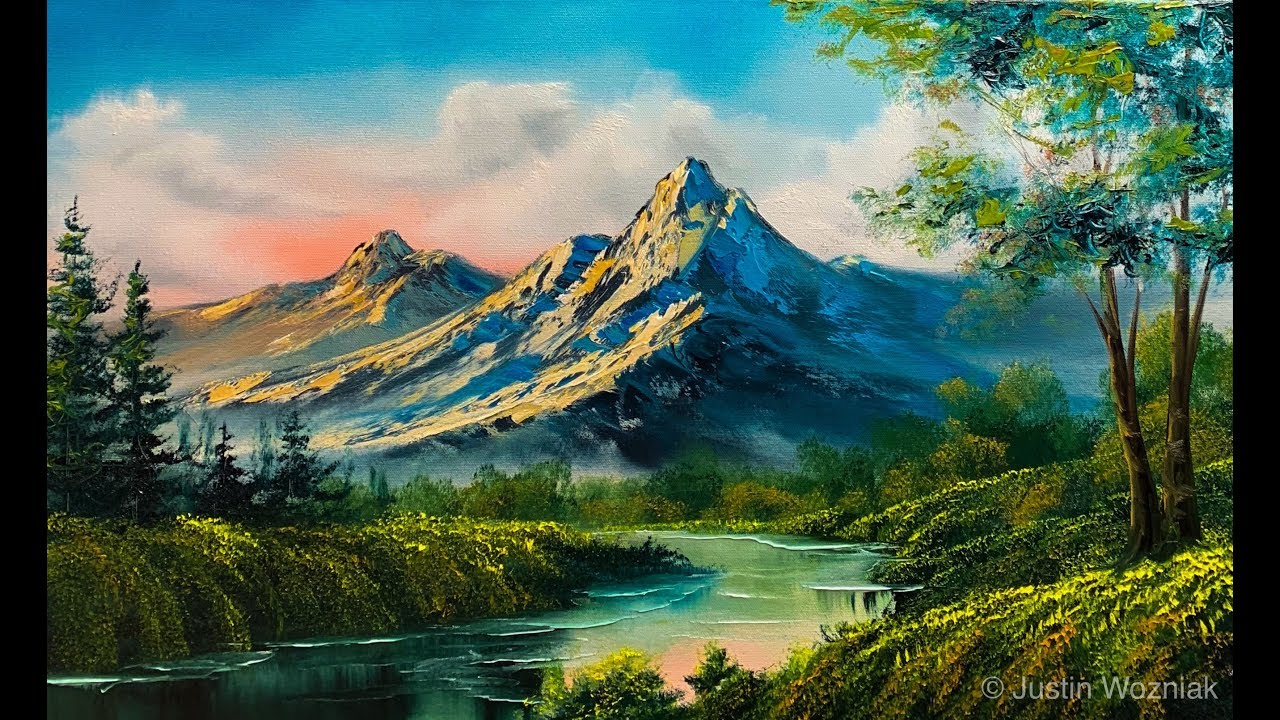
We will learn what a landscape is. After that we will find out about different types of landscapes.
A landscape painting or drawing refers to an artwork whose primary focus is natural scenery, such as mountains, forests, cliffs, trees, rivers, valleys, etc
This genre is normally divided into three categories: representational, impressionistic and abstract.
Representational Landscape Art
Artworks representing something with strong visual references to the real world.
It is art that is clearly identifiable as something which already exists in life.
Impressionistic Landscape Art
Before impressionism, landscapes in art were often imaginary, perfect landscapes painted in the studio. The impressionists changed all that. They painted outdoors. As they were outside, they looked at how light and colour changed the scenes. They often painted thickly and used quick (and quite messy) brush strokes.
Abstract Landscape Art
Abstract art is art that does not attempt to represent an accurate depiction of a visual reality but instead use shapes, colours, forms and gestural marks to achieve its effect. In an abstract landscape piece of art, the artist may put the landscape in the background of the painting, and in the foreground he or she may put more emphasis on a particular element, such as a distinctively shaped tree branch, or the shadow casted by any huge object.
VARIETY OF TOPICS
There are natural, rural and urban views of the landscape in painting. Each of them has varieties and features.
NATURAL LANDSCAPE
MARINA - A PICTURE OF THE SEA
RURAL LANDSCAPE
CITY LANDSCAPE
Lesson 5: Let's paint a landscape.
Use your favourite lines and your favourite topic to create a beautiful landscape in your sketchpad. Try to use at least 2 different watercolours techniques.
You can use some ideas from the following website:
EL CUBISMO SINTÉTICO DE PICASSO. LOS TRES MÚSICOS. 1921.
Pablo Picasso pintó este cuadro durante su estancia en Fontainebleau, en 1921, y es considerado como una de sus obras más célebres de lo que se ha llamado cubismo sintético. Se trata de la composición de escenas basadas en superposiciones de planos de color, que generan figuras más o menos reconocibles.
En esta obra se pueden identificar tres figuras sentadas de frente y los alumnos han elaborado sus propias versiones de la escena utilizando diversas formas geométricas de colores.
Aquí se pueden observar algunos delos resultados.
El periodo rosa o época rosa de Pablo Picasso es considerado la segunda gran etapa en la carrera artística del pintor. Sus obra destaca por la calidez de los colores pasteles y la frecuencia de los temas circenses.
Los alumnos de nuestro centro han querido reinterpretar una de las obras de esta época, realizando un collage sobre sus propios arlequines. Estas son algunos de los resultados.
Este cuadro corresponde al periodo azul. En esta época Picasso, tras la muerte de su amigo, empieza a pintar sus cuadros usando diferentes tonalidades de azul. Así él reflejó tristeza y melancolía en sus pinturas.
Los alumnos de nuestro centro han realizado sus propias versiones de esta obra utilizando tizas de colores, principalmente con colores fríos. Estos son algunos de los trabajos.
Una de las etapas más interesantes de Picasso fue sin duda la etapa cubista. Para que los alumnos entiendan de que trata esto del cubismo, les hemos explicado la diferencia entre los cuadros tradicionales donde encontramos tres dimensiones (altura, anchura y profundidad), y los cubistas en los que la profundidad desaparece. Todos los objetos aparecen en un mismo plano, y se ofrecen distintos puntos de vista a la vez.
Los alumnos han disfrutado con la elaboración de estos retratos en el aula de plástica, y estos son algunos de los resultados.
Continuando con el proyecto en el que estamos inmersos, nos toca ahora trabajar el rostro desde otro punto de vista: su perfil.
Picasso realizó varios trabajos con el tema del perfil, y nosotros hemos elaborado nuestro propio perfil en algunos casos o el perfil del pintor en otros. Este ha sido el resultado.
Pablo Picasso realizó este autorretrato inspirándose en las máscaras africanas ( forma de la cara, nariz alargada y ojos grandes)
Tras presentar la obra en la clase de plástica, los alumnos han coloreado libremente el cuadro con ceras blandas. Estos son algunos de los trabajos realizados.
Picasso utilizó el apellido de su madre, de origen italiano, para firmar sus obras.
Los alumnos han aprendido a recocer esta firma y la han dibujado a través de varias técnicas como la estampación o el picado entre otras. Estos son algunos de los resultados obtenidos.